|
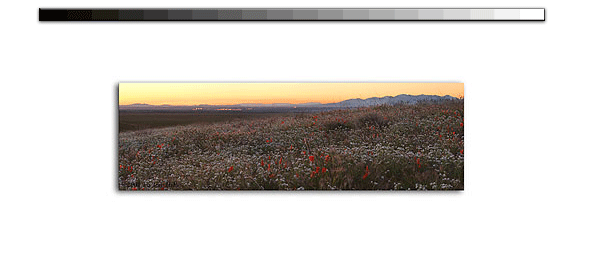
The first layer--Figure 3--was the foreground. This was created by using a combination of the Magic Wand Tool and and the Lasso. After making the selection, the layer was simply made by copying and pasting. This automatically created the separate layer. The middle ground was made using a similar approach. This was done by first selecting the sky using the Magic Wand Tool then using the Inverse Selection Command to select the rest of the image. Like the foreground, the layer was made by copying and pasting. I made sure the foreground layer was above the middle ground to make sure any changes made to the foreground would override those made to the middle ground. The same process was done for the background--the sky. This middle ground layer was moved to just above the basic background layer. I adjusted the foreground lightness by using the Levels Tool by creating an adjustment layer and checking the "Group With Previous Layer" block. I did this to ensure the Level's adjustments were only made to the level it was grouped with. Otherwise, the adjustments would've been applied to all lower layers. Fig. 3, Fig. 4, and Fig.5 show the levels adjustments for the fore, mid, and back grounds respectively.
|
|
|


