|
Digital darkrooms are amazing tools to those familiar with working in wet darkrooms. The ability to manipulate images to the photographer's desires is impressive. The idea of making complex image adjustments and seeing the results practically instananeously is incredibly powerful. It provides endless opportunities for experimentation to allow the photographer/artist to "tweak" his image. The idea is fullfilling a vision. Digital darkrooms provide the tools.
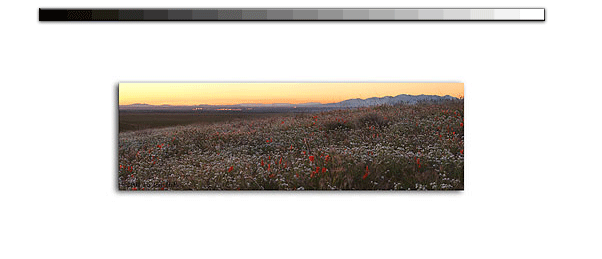
This article shows a few steps in Photoshop to make the image acceptable. While the original image wasn't bad, it missed some qualities to realy make the image outstanding. The potential was there in the image just waiting for a few adjustments to make the difference. I'll show you what I did in this article.
As per most of my images, some Levels and Saturation adjustments were obvious for this image. Figure one shows the results as they're applied globally for the entire image. Clearly, it wasn't sufficient. The light areas were too bright. The dark sky wasn't even. The foreground was a muddly blue color. To control the tremendous dynamic range--brightness range between the lightest and darkest portions--I applied my standard technique; a Overlay Mask. An Overlay Mask provides the qualities of "Fill Flash" to an image's darker areas. Unfortunately, it doesn't work all the time and other techniques are needed. Figure 1 shows the affects of the Overlay Mask and that the image's dynamic range was still too great. This lead to the next effort to divide the image into three levels--fore, mid, and backgrounds. The idea here with these selectable layers was creating the ability to apply corrections to portions of the image without affecting other areas. It's a very powerful tool.
|


