|
As you can see here, I didn't have to follow the guideline precisely. I only had to make sure the transition looked right. Figure 5 shows layer 3 deactivated. Normally, I do my erasure action with the lower layer activated to see what the affect of my work realtime. I deactived layer 3 and 4 to double check what I've erased and what I haven't. I only do that to make sure I don't leave an spurious content way to the right of the guideline.
What do you do next, you may be asking? Just keep repeating this with each layer until you're done. Remember, don't do anything to the anchor layer--layer 4 in my case. With a good erasure job, you won't have to deal with the curves tool to make the tone between the layers perfect. Sometime you will. In that case I create an adjustment layer that's attached to the layer in question. That way I can restrict my curves modification to the layer in question and still give me the ability to fix things layer. Let's say layer 2 needs to be slightly modified to match layer 3. Apply the correction layer to layer 2 and see what happens. After you're done, look and see if you have to apply a curve adjustment to layer 1. You may. It's all part of the game and it's why I try to minimize these adjustments by using manual exposure and White Balance when I originally shot the image. It's all part of the game.
Once you're done with each layer, you can now think of the entire image with all four layers as a complete image. Now I apply curves and modify saturation by creating adjustment layers that aren't tied to any particular layers. You can see this in Figure 5. The top two layers are curves and saturation adjustment layers that are being applied to all, lower layers. It's a complete way to modify the total image.
Notice I haven't flattened the image yet. I don't until I'm making the final product. In fact, I save this four layer canvas with the adjustment layers as a basic file. You never know when you may want to adjust things in the future and saving the file this way maintains this option. I know this technique takes up a lot more storage space but I figure the hours of modification that goes into one of these panoramics deserves this flexibility.
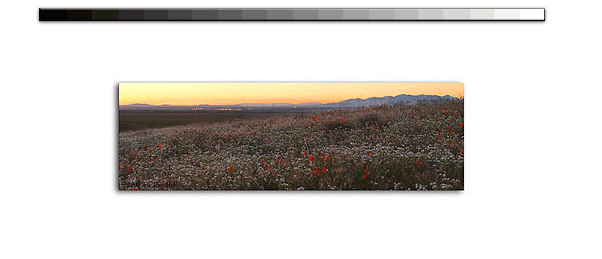
There you have it. a 130mb file with four layers and two adjustment layers to boot. With a little more tweaking on the final product such as applying an Unsharp Mask you'll be in buisness for producing an outstanding panoramic print everyone would be proud to have on their wall. As I mentioned, think about what you're producing when you initially compose the image. Take that thought process through the digital darkroom manipulation to keep things consistent. You'll be amazed at what you can make.
Cheers
Tom
|


