|
Next well use Layer-Masks to retain the darker parts of the lower layer while blocking the lighter parts of the higher layer. We do this by selecting the background layer in the Layers Palette, selecting the background (CMD-A,) then copying that layer (CMD-C). Next, we make a layer mask for the next higher/darker layer; Layer 1 in our example. Select Layer 1 then press the Quick Mask button on the Layers Palette. Now youll see a Layer Mask for Layer 1. On the Layers Palette, option-click this mask to isolate your view to the mask. The picture should turn white since you havent made a mask yet. Paste (CMD-V) the lower image youve just copied into the new mask. You now have a black & white version of the background layer in the mask (figure 5). Option-click the mask again to turn the image back to color. You should now see a combined color image of the background image and the next higher layer. The darker and lighter areas should have more detail than before. To make things even better, you can tweak the image a bit more by changing the contrast of the Layer Mask, which alters how the layers are combined. I do this by applying a curve to the Layer Mask (figure 6). This is done by selecting the Layer Mask then applying a curve (Image->Adjustment->Curves). Change the image as you like then click Okay. Note, if you have Preview selected on the lower right of the Curves dialog window, you should see your adjustments real-time before hitting Okay. Youve now expanded the dynamic range of the scene by merging just these two exposures.
Lets merge the rest of the exposures by repeating the process. Remember to copy the next lower image to the next higher layer maske.g. Layer 2 to Layer 3s Layer Mask and so on.
|
|
|
Once youve got all these layers and their masks setup, you can further modify the image by applying an adjustment to each of the layers as desired. In my case, I picked the two darkest/shortest exposures and modified those layers to taste with a curves layer thats grouped to those layers (figure 7). This is done by selecting the layer in the Layers Palette, applying a curves layer (Layer->Adjustment->Curves), selecting Group with previous layer at the dialog window, then pressing Okay. Thats about it.
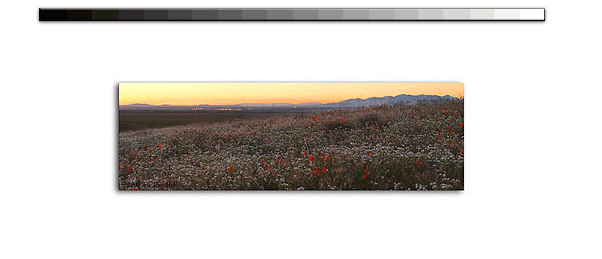
You can finish the image by modifying saturation and the images overall contrast using a Curves Layer just as you would with any other image. The difference is that seven exposures/layers were used to make the final product verses just one with most files. Careful modification through curves layers and masks can reveal an image that wouldnt exist any other way. The process is fairly straight forward and still retains flexibility.
|
|
|


