One of the most challenging aspects of photographydigital or filmis working within the limitations of your medium. Today were talking about expanding how much our camera can see from the darkest darks to the lightest lights. If you werent aware, cameras and film are limited to 3 to 5 stops of tonal range before the darks become blobs of black and whites loose all detail. This compares to the human eye resolving about 7 to 10 stops of light at a single glance. Photographers through the ages have developed many techniques or tricks in the field and darkroom to match the amount of information human eye can register at a single glance. Some of the most popular for landscape photography using Graduated Neutral Density (GND) filters first made famous by Galen Rowell. The technique is simple. You simply place a darkened filter at the top of the image were the sun or sky may be overexposed and shoot with camera settings appropriate for the darker foreground. By lowering the intensity of the sun/sky, youre reducing the range of tones the digital sensor or film needs to capture for its darkest parts to its lightest lights.
What if you cant use GNDs because the subject just isnt suitable? Youre working without a horizon or its penetrated by subjects from the foreground. You could import the image into Photoshop and try to use basic tools such as Curves to reduce the intensity of the lighter sections while simultaneously increasing the brightness of the shadows. Unfortunately, theres no free lunch. You cant make something of nothing in normal cases. No amount of curve adjustments will improve data were none previously existed. Reducing the intensity of an overly bright section will simply turn white into grey and still wont create any detail. The reason being, data just doesnt exist due to limits with your camera. We need to figure a way to record all the tones, then merge the data together into one image.
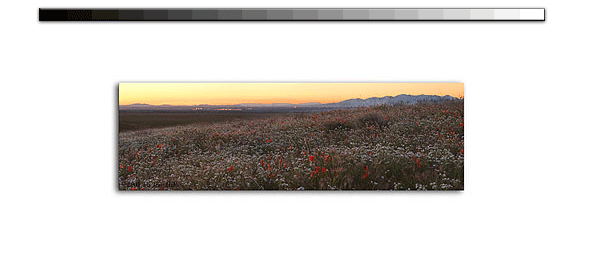
In this articles example I shot seven exposures spaced a total of three stops above and below my cameras middle matrix metering. Each exposure was space one stop away from its neighbor. As you can see in Figures one, two, three, the darker foreground has little sky detail while the lighter background sky has little foreground detail. Even the mid-toned exposure doesnt capture the extremes of the scene. Through the seven images, I have a tremendous amount of information waiting to be merged into one image. What do we do? Use the magic of digital photography!
Well bring all seven exposures together into one complete image by using a combination of layers and curves. The process is fairly straight-forward and quite flexible. First, all seven exposures should be brought into Photoshop using your normal workflow. I simply convert by RAW files by using Nikon View. Starting with the longest exposure, or lightest imagewell call it the Base Imagea copy each of the other image placed in this file as a layer. You do this by simply selecting the entire image (CMD-A), copying that image (CMD-C), select your Base Image, then paste the new layer (CMD-V) in. Repeat these steps for each of your exposures. The beauty of this process is if you havent moved your camera between exposures, there arent any alignment issues or other position tweaks you have to do. Photoshop will automatically line things up. Remember, its important to keep the images in order from the lightest/longest exposure on the bottom and ever darker/shorter exposures stacked to the top (figure 4). The last step at this stage is turn off every layer except for the background by deselecting the eye for each layer on the Layers Palette.
|
|


